Naver SmartEditor 2.0 적용하기
프로젝트에서 게시글 작성하기 기능을 구현하는데 네이버 스마트 에디터를 사용하기로 했다.
오픈소스로 공개되어 있는 Smart Editor 2.0을 사용했고,
2.9 버전부터는 사진 업로드 기능을 제공하지 않아 2.8.2 버전을 다운받아 사용했다 !
이번 포스팅에서는 스마트 에디터를 프로젝트에 적용하고,
에디터에 입력한 값을 가져오는지 출력까지 해 볼 예정이다.
🔹 스마트 에디터 다운로드
https://github.com/naver/smarteditor2/releases/tag/v2.8.2.3
Release v2.8.2.3: archive v2.8.2.4259f59 · naver/smarteditor2
2.8.2.3 보안 패치 file_uploader_html5.php의 null byte injection 취약점 추가 보완 file_uploader.php의 리다이렉트 취약점 보완 sample.php에서 XSS filtering을 위해 HTMLPurifier라이브러리를 적용 sample.php -> sample/viewer/in
github.com
🔹 프로젝트에 스마트 에디터 적용하기
먼저 나의 프로젝트 환경은 아래와 같다.
- Java, SpringBoot
- Thymeleaf
- JPA, MySQL
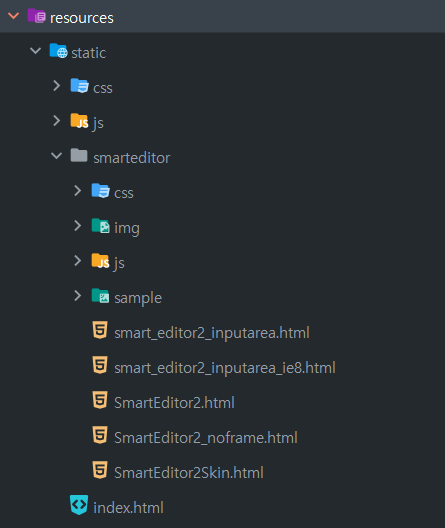
1. 스마트 에디터 적용하기
resources/static/smarteditor 에 다운받은 파일들을 넣어준다.
2. 게시판 화면에 스마트 에디터 적용하기
1) 스마트 에디터를 출력할 페이지에 스크립트 태그 추가하기
// <script type="text/javascript" src="/smarteditor/js/HuskyEZCreator.js" charset="utf-8"></script>

<script type="text/javascript" th:src="@{/smarteditor/js/HuskyEZCreator.js}" charset="UTF-8"></script>
2) 에디터를 넣을 위치에 <textarea> 추가하기
<form action="insertStudentInfoForm" method="post">
	<div id="smarteditor">
		<textarea name="editorTxt" id="editorTxt"
		rows="40" cols="10"
		placeholder="내용을 입력해주세요."
		style="width: 858px"></textarea>
	</div>
	<div class="btn-group">
		<div class="inner">
			<button type="button" id="btn-insert">등록</button>
		</div>
	</div>
</form>- rows의 설정한 값에 따라 화면에 보이는 라인 수를 조절할 수 있다.
3) 에디터 설정하기
static/js 안에 article.js 파일을 만들어 스크립트 태그 안에 에디터를 설정해 주었다.
// 네이버 스마트 에디터 2.0 적용
let oEditors = [];

function smartEditor() {
    console.log("Naver SmartEditor");
    nhn.husky.EZCreator.createInIFrame({
        oAppRef: oEditors,
        elPlaceHolder: "editorTxt",
        sSkinURI: "/blog/smarteditor/SmartEditor2Skin.html",
        fCreator: "createSEditor2"
    });
}

$(document).ready(function() {
    smartEditor();
});- elPlaceHolder : 위에서 설정한 textarea의 id 값을 넣어준다.
- sSkinURI : static/smarteditor 하위의 SmartEditor2Skin.html을 연결해 준다.
- Spring Boot에서 기본적으로 /static 폴더 경로를 잡아주고, 필자는 context-path를 /blog로 설정했기 때문에
"/blog/smarteditor/SmartEditor2Skin.html" 로 설정해 주었다. - 작성 완료 후, 스마트 에디터를 출력할 페이지에 스크립트 태그를 추가해준다 !
4) 화면 확인하기
세팅 완료 후 프로젝트를 실행시켜 보면 아래와 같은 화면을 확인할 수 있다.
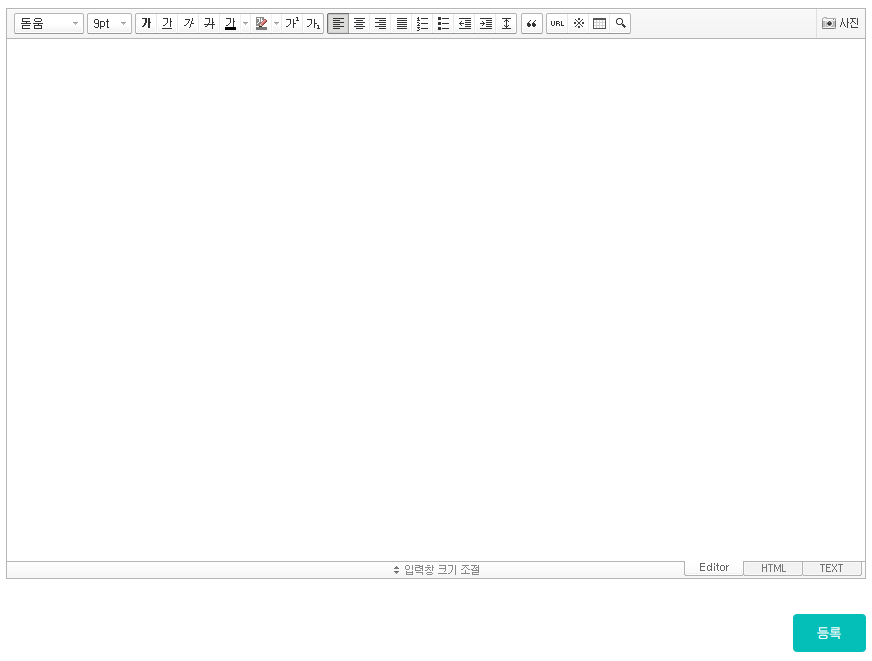
- 디폴트 세팅으로 에디터 위에 버전이 뜨는데, 이를 삭제하고 싶다면
- static/smarteditor 폴더의 SmartEditor2Skin.html 안의
<span id="rev">Version: 2.8.2.4259f59 </span> 태그를 지워주면 된다.
- static/smarteditor 폴더의 SmartEditor2Skin.html 안의
🔹 에디터에 입력한 내용 가져오기
DB에 저장하기 전, 에디터에서 편집한 내용을 잘 가져오는지 확인해 보자 !
에디터에서 편집한 내용은 단순이 document.getElementById("editorTxt").value로 가져올 수 없다.
textarea의 값을 가져오기 위해서는 UPDATE_CONTENTS_FIELD 메시지를 호출해주어야 한다.
에디터를 작성한 후 등록 버튼을 눌렀을 때, 작성한 내용을 받을 수 있도록 submitPost() 함수를 작성했다.
function submitPost() {
    // alert("click!");

    oEditors.getById["editorTxt"].exec("UPDATE_CONTENTS_FIELD", [])
    let title = document.getElementById("post-title-inp").value
    let content = document.getElementById("editorTxt").value

    if (title == '') {
        alert("제목을 입력해주세요.")
        let titleInput = document.getElementById("post-title-inp");
        if (titleInput) {
            titleInput.focus();
        }
    } else if (content == '') {
        alert("내용을 입력해주세요.");
        oEditors.getById["editorTxt"].exec("FOCUS");
        return;
    } else {
        console.log(content)
    }
}- 에디터의 내용을 받아오면서, 게시글의 제목도 함께 가져와 줬다.
🔹 결과 화면


다음 포스팅에서는 받아온 내용을 DB에 저장하고, 상세 페이지에 출력하는 것을 포스팅할 예정이다.
지쳤어요..😂
📃 reference